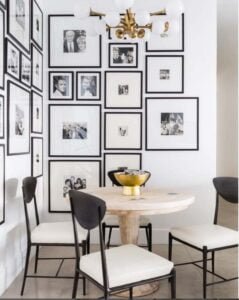
Do you have various pieces of art and photographs scattered around your home that you would like to group together? Maybe you have a blank wall that could be a real focal point, but you don’t know where to start. A gallery wall can solve both of those problems and more. Read on to learn everything you need to know to add a gallery wall to your home.
Some of the links below are affiliate links. This means that, at no cost to you, I will earn an affiliate commission if you click through the link and finalize a purchase.
Table of Contents
A Few Guidelines
When laying out a gallery wall design, I don’t like to call these absolute rules, but there are a few guidelines that you can follow to achieve a well-balanced and cohesive look.
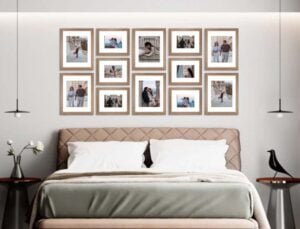
- It always helps when there are visual lines that give your eye something to follow.
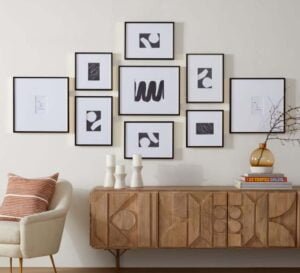
- If you’re hanging your artwork over a large piece of furniture like a sofa or buffet it’s usually best to make your total width about two-thirds the length of the furniture so that it doesn’t look top-heavy.
- Also if you’re hanging them above a piece of furniture, they should start 6″ to 8″ above the top of the furniture so that it doesn’t feel crowded.
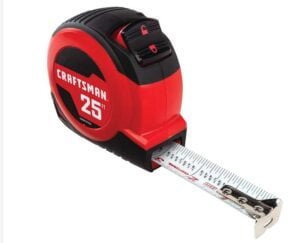
- The first step in creating your gallery wall is to measure the overall space you want to cover.
The Layout
- Next, lay your art out on the floor to arrange. This gives you a chance to see the actual pieces next to each other and gives you the chance to rearrange and get it just the way you want it. Here’s where those visual lines come in. In the examples below, the blue lines represent the visual lines
- If you are using different size pieces, It’s easiest to start with the largest piece and work around it.
- If you have small pictures, consider using a larger mat and frame to make them fit your layout better.
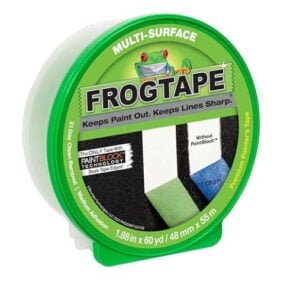
- To make the process so much easier, cut squares or rectangles out of kraft paper the sizes of each piece (you can also use wrapping paper from Dollar Tree) and use painter’s tape to place them on the wall for a trial run. That way you can move them around until you get the placement the way you want it. This step makes the installation process sooo much easier!


Choosing Your Art
If you are starting from scratch or adding to a focal point piece, here are a few ideas to consider.
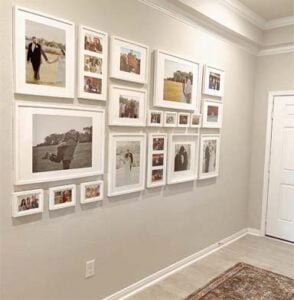
- Using Family Photos can make a fabulous gallery wall. To make it more interesting, consider using a mix of photos such as candid shots, older childhood pictures ( like that 2nd-grade picture when you cut your own bangs the night before) as well as portraits.
- Working with a color scheme can make for some pretty easy choices.
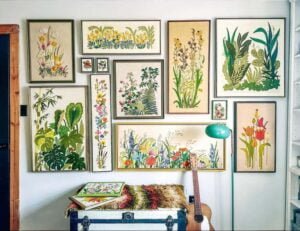
- An eclectic mix of paintings and framed prints in different styles can make a very unique and personalized gallery wall.
Before we get to the installation section, here’s a little inspiration.
Time To Install Your Gallery Wall
Installing your gallery wall can be an intimidating process. If you take it one step at a time and measure… measure… and measure again, it will be very rewarding in the end. Here are a few tips that I hope will make the experience go smoothly.
- If you used the kraft paper method and taped them to the wall, you are halfway there! Just mark each piece of paper at the top, corners with the painter’s tape and take it down. Hang that picture.
- I would start in the center and work my way out but this is just a personal preference
- The space between your pieces depends on the size of the space you are trying to fill and the size of your pieces, so I feel like there is no real set size but try to make the spaces even to keep it cohesive.
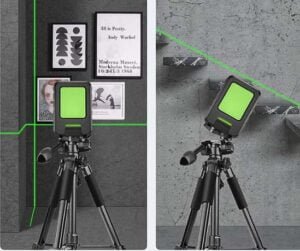
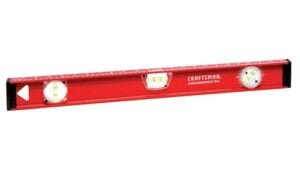
- Using the right tools makes every job easier and this is no exception. Below you can find the best tools that I recommend.
A gallery wall will make such a big impact and be a major focal point in your home. Creating your own gallery wall is a great way to express your personality. I hope you are inspired to try this in your home!

