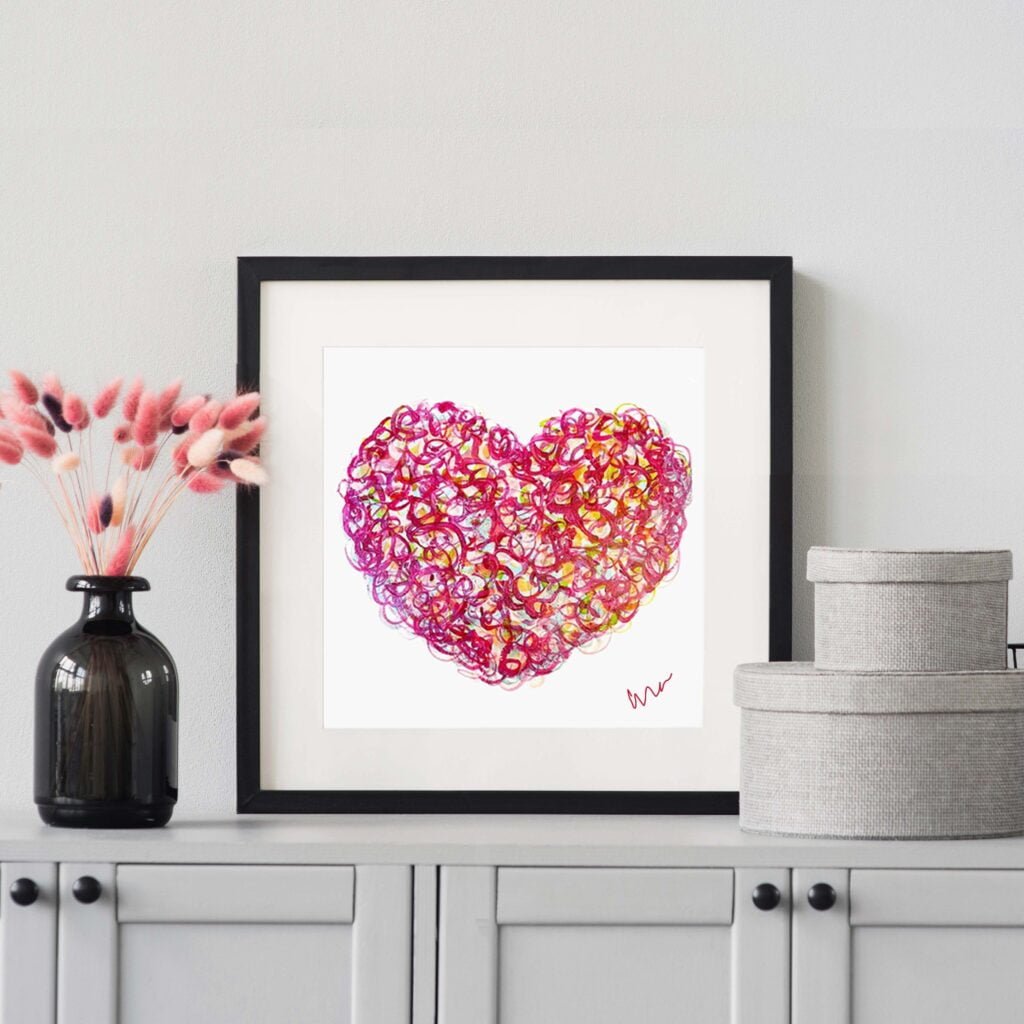
If you like this cute squiggly heart painting and want to make one for yourself, just follow the steps below to create your own. =wt
Some of the links below are affiliate links. This means that, at no cost to you, I will earn an affiliate commission if you click through the link and finalize a purchase.
Supplies You Will Need
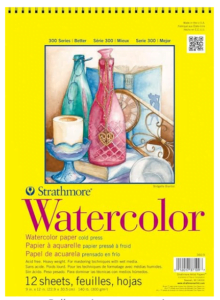
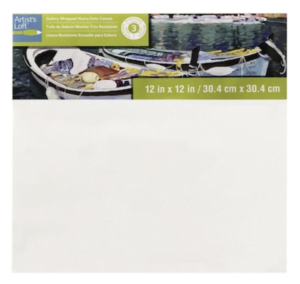
1. watercolor paper or artist’s canvas
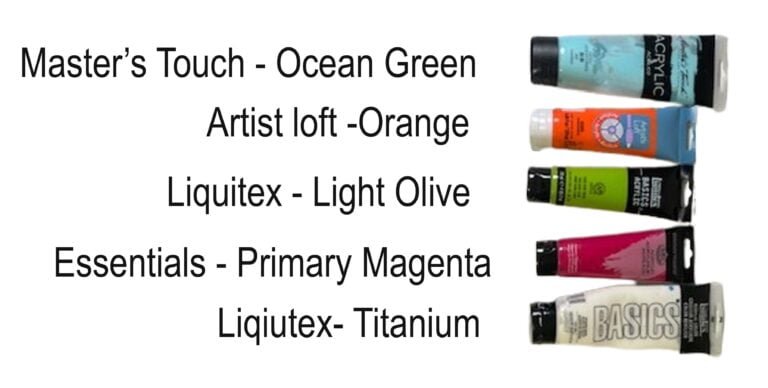
2. acrylic or craft paints
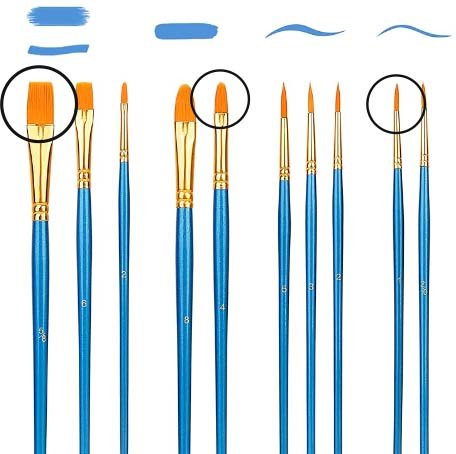
3. paint brushes
You can use watercolor paper or an artist canvas for this painting. I used watercolor paper and put it in a mat and frame.
You can use any artist acrylic or craft paint for this project. These are the paint colors I used but you can choose any colors that you would like. The only color that I mixed is the orange. I mixed a little white in it. (just my personal taste and paints that I had on hand).
For this painting I used a larger flat brush to fill in the heart. I used a medium sized rounded top brush for the first 4 layers for the bolder squiggles, and a liner brush for the last layer.
Let's Get Started
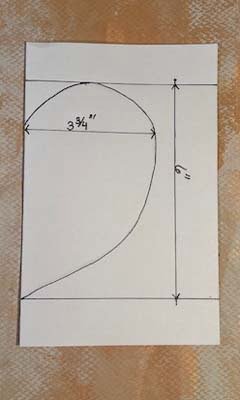
Lightly sketch a heart onto your paper or canvas. I’m using a 9″ x 9″ piece of watercolor paper so I don’t want my heart to be any bigger than 6″ tall and 7″ wide. If you aren’t comfortable sketching it freehand, fold a piece of paper and draw half of the heart shape. cut it out, and unfold the paper. Lightly trace your heart onto your surface and you’re ready to start painting.
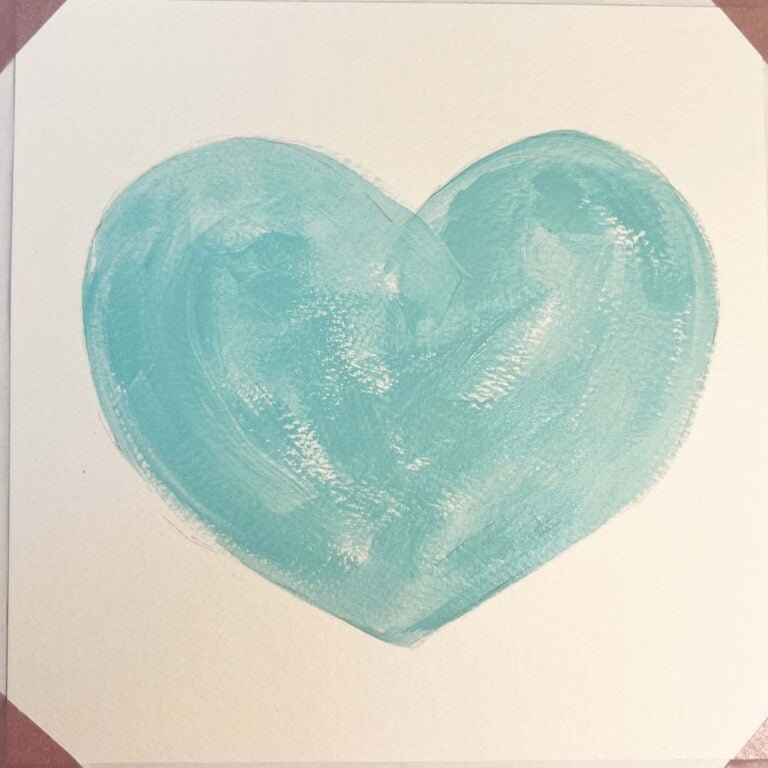
Layer One - Fill in the Heart
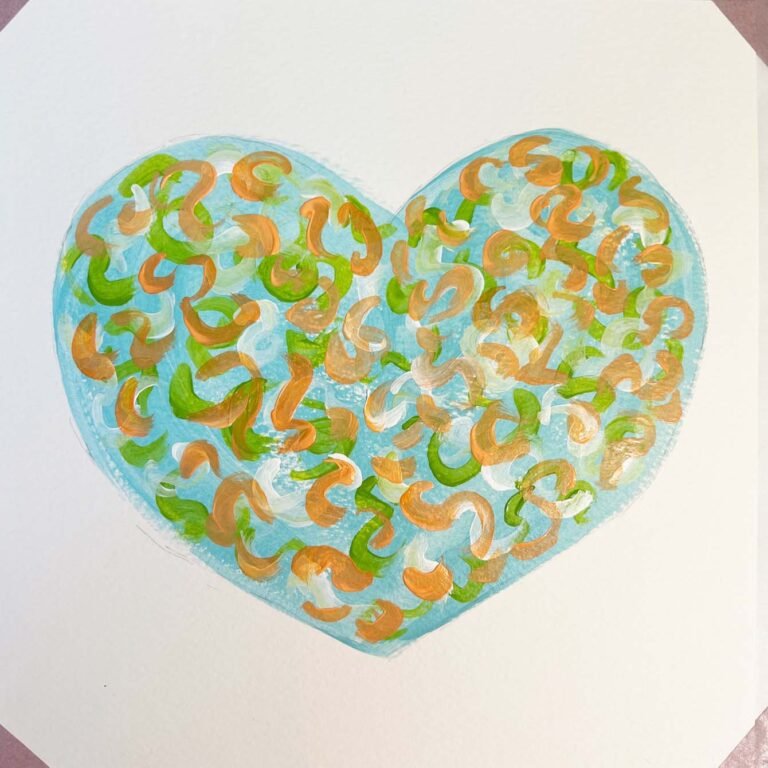
Simply fill in the heart shape with blue paint. It doesn’t have to be filled in completely since it is one of several layers, and this painting is all about layers.
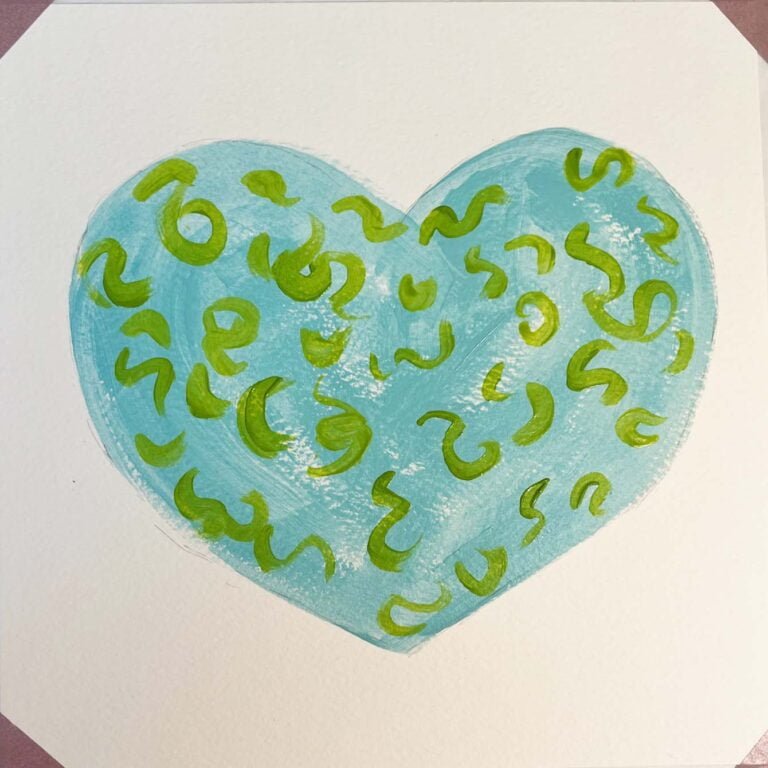
Layer Two - Green Squiggles
Use your rounded brush to make squiggly lines inside the heart. Using this brush will just add a little thicker line to get more paint onto your heart. As you can see, my “squiggles” are not all the same. This is really about building layers of color. Keep them spaced apart to make room for the next layers.
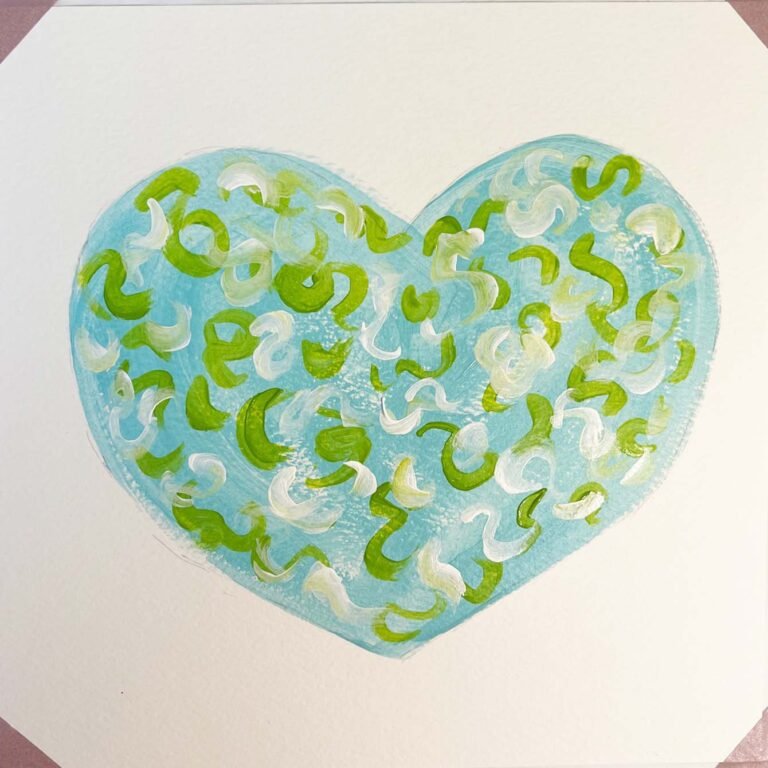
Layer Three - White Squiggles
Add a layer of squiggly lines in white with the rounded brush. Make sure there is still plenty of blue showing through. Feel free to overlay the colors as you paint. the goal here is to add color layers while letting the layers below show through.
Layer Four - Orange Squiggles
Here’s where I mixed white with my orange to lighten it a little. This is just a personal preference, you can use any color that you want. Each layer adds more depth.
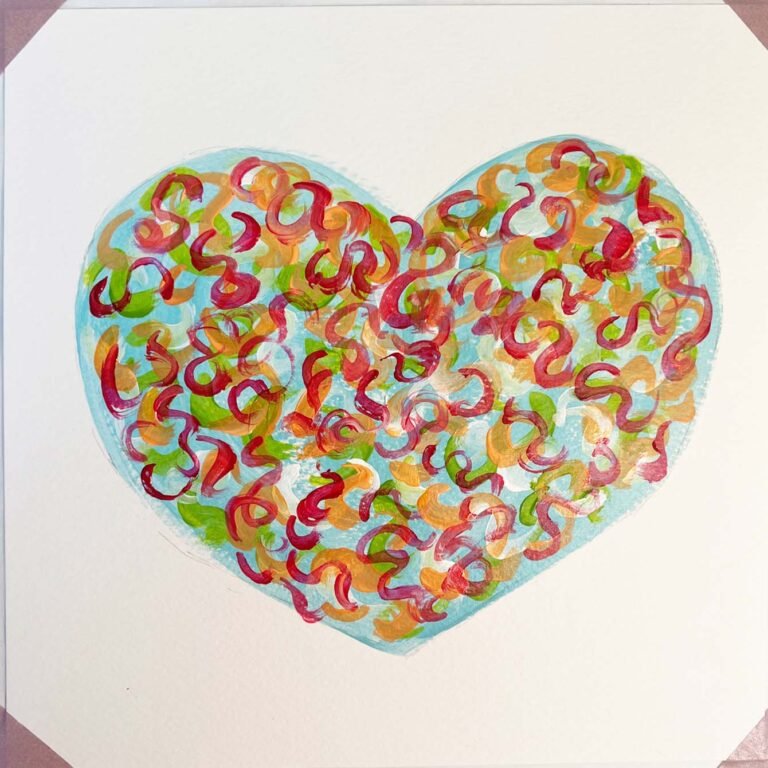
Layer Five - A Few Pink Squiggles
This is the last layer that you will use the rounded brush on. Add a few pink squiggles.
Layer Six - Liner Brush Pink Squiggles
For this final layer, switch to your liner brush. Make these squiggly lines spill out past the blue edge of the undercoat. I used a little of the blue paint for these too but it is barely noticeable and then switched to the pink and covered the entire heart with thin strokes. I like to hold the liner brush way back towards to end of the handle to give the strokes a looser feel. Be careful to leave spaces for the other layers of color to show through. Let it dry for a day or two and move on to step eight 🙂
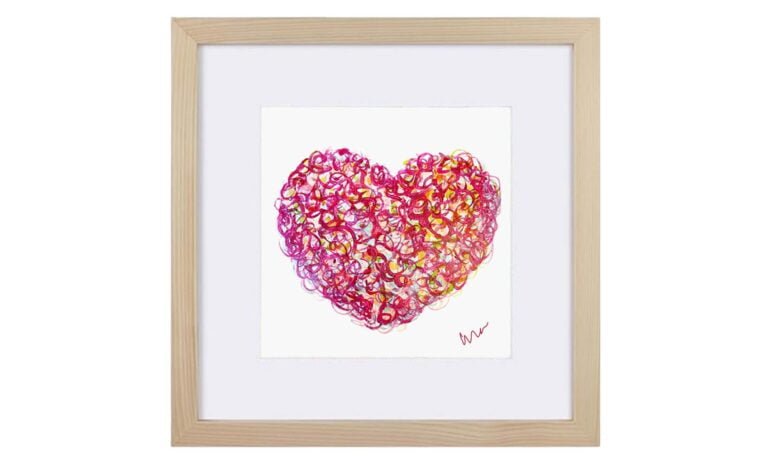
Step Eight -Sign, Mat & Frame
All you have left to do now is sign your masterpiece and pop it into a mat and frame and you’re done. I hope you decide to try this for yourself. Happy Painting!!!