If you are looking for an easy DIY art project, THIS IS IT! I’ll take you step by step through the process so you can make your own unique piece of art. LETS GET STARTED!
Some of the links below are affiliate links. This means that, at no cost to you, I will earn an affiliate commission if you click through the link and finalize a purchase.
Supplies
Watercolor Paper
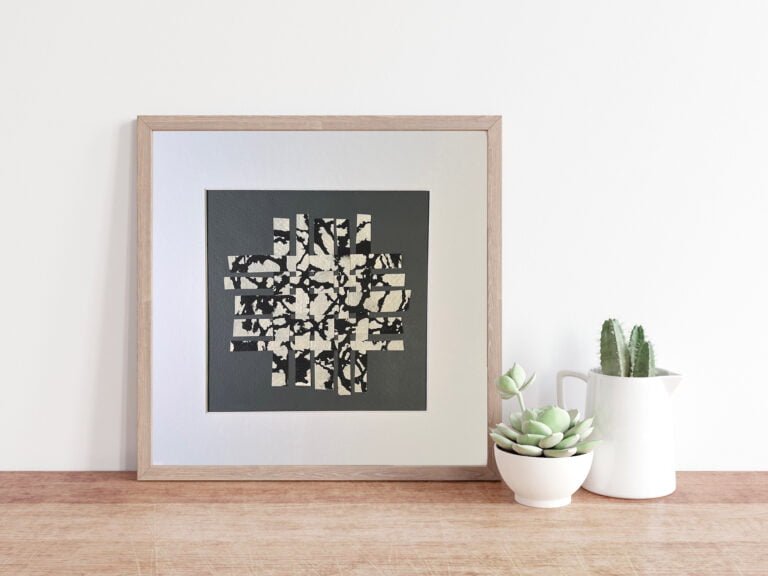
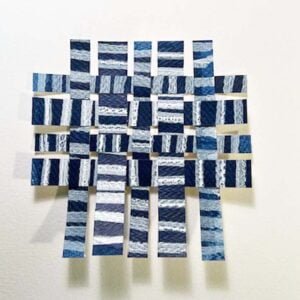
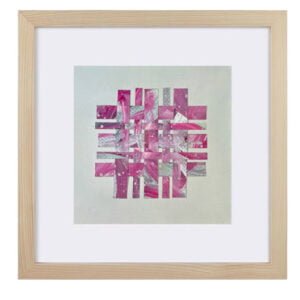
For the image above I used watercolor paper for the base and the strips that are woven together.
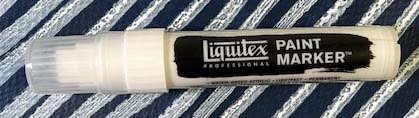
Paint
You can use any artist or craft paint or paint pens.
Water
You’ll need water to thin your paint and clean your brush and I use a spray bottle to spritz the paper too.
Mod Podge or Gel Medium
You will use this the attach your paper strips to the sheet of watercolor paper.
Step One - The Base
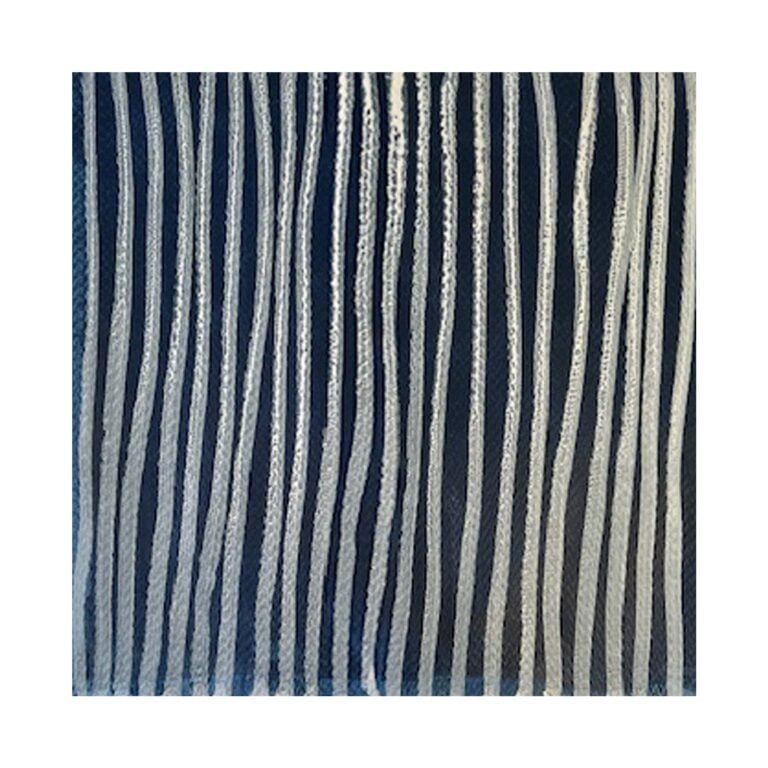
The picture below has a black background. I simply took a 9″ x 9″ piece of watercolor paper and painted it black. One tip about watercolor paper is that if you wet both sides of the paper before you start the paper won’t warp as much as it will if you only wet the side you’re painting. When it dries you will most likely have to lay something heavy on top of it to flatten it out. The example I am making here is navy and white and I am just using the white paper to glue the strips to.
Step Two - My Favorite Part
This is where you can use your imagination and paint anything you want, but for this post we’re going to draw white stripes. You can use a paint brush or a paint pen for this like I did.
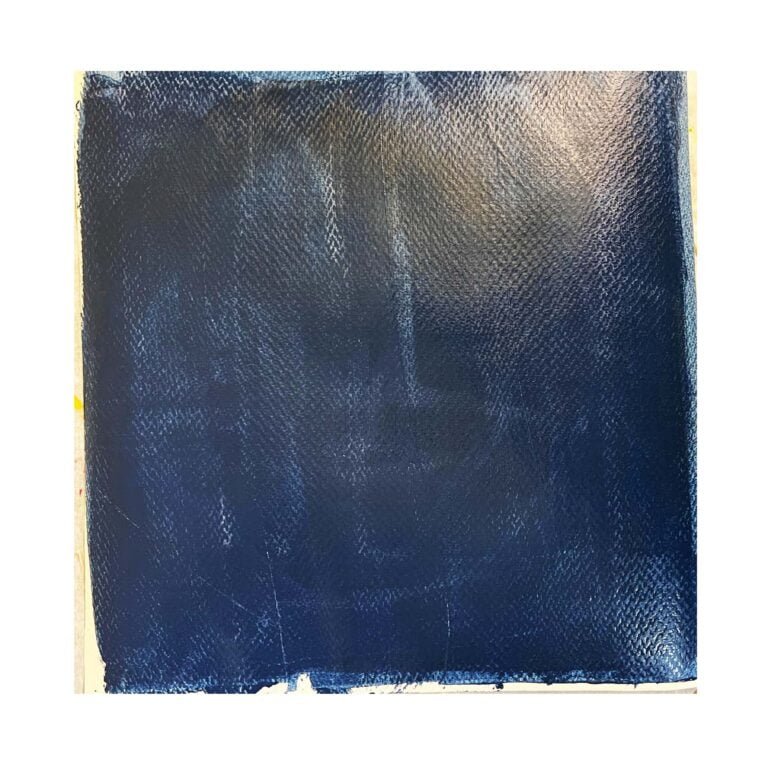
First, paint one of your pieces of watercolor navy blue (or whatever color you choose) Remember to wet both sides of the paper. As you can see I don’t try to cover the whole piece equally. I like to see the variations. You need to let this dry and flatten the paper before you start the next step.
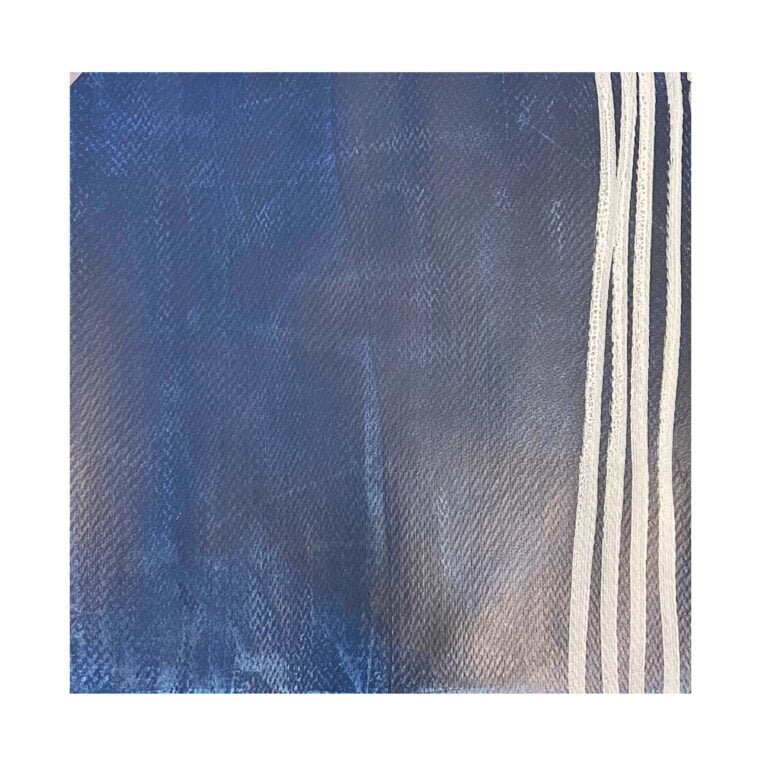
Next, Take your paint pen or brush and start making white lines the full length of the paper. As you can see I never try to make perfectly straight lines. I like this more organic look.
Make the stripes across the whole piece and let it dry.
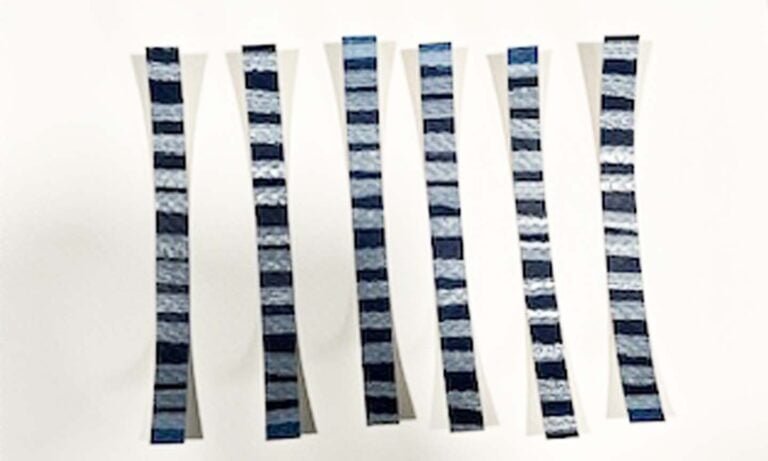
Step Three - Time To Cut Your Paper
You will not use all of the paper but I just like the paint the entire piece just in case anything happens and I need another strip or two. You are going to cut 10 strips in total. All of them will be 6″ long. You can cut every strip the same width or vary the widths. It’s a personal preference. I like for them to be two different sizes. On this piece I used 4 strips that are 3/4″ wide and 6 strips that are 1/2″ wide.
‘
Step Four - Time to Put It Together
I have always used this heavy gel matte because it works well and I already had it, but I believe clear matte finish Mod Podge would work just the same.
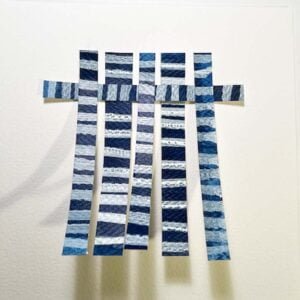
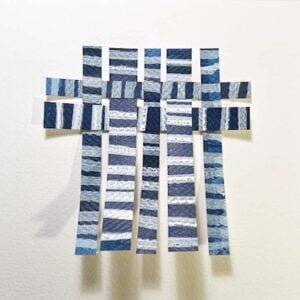
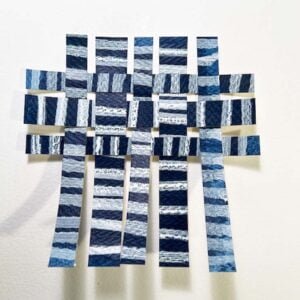
To apply the strips, start with the center strip and adhere just the top 1/2″ or so to your 9″ x 9″ piece of watercolor paper. When I use the matte medium I use a paint brush and a little water to thin it out. Press down to stick it to the paper. Work your way out and do the same to the other 4 strips. I alternate the sizes. Be sure to leave a little space between each one. When The five pieces are dry, weave your next pieces in as pictured below.
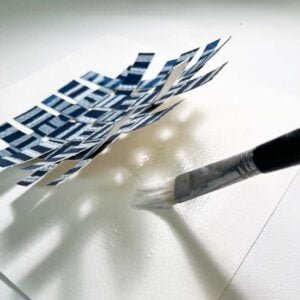
Next, you’re going to slather the matte medium or Mod Podge to the base paper and the bottom of your woven pieces and press it down to the paper. This part is a little messy so you may want to wear latex gloves. You will have a few minutes to slide the pieces around if you need to. Remember this is art, it doesn’t have to be perfect.
After you have it down, brush a coat of matte medium or Mod Podge over the top as well. This will be your sealer coat. Let it dry and you’re done!
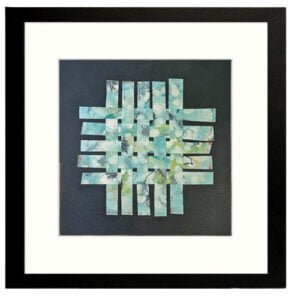
Now it’s time to mat and frame your art!
Here are a couple more just for inspiration. When you are painting your paper that you will cut into strips, remember that you can do anything you want. Use brush strokes, splatters of paint or maybe use a paint pen to write words. The skies the limit, so just have fun!
I hope you’ll give this a try. I’d love to see how yours turns out.